The hen coop is well underway. We didn't finish today because we ran out of wire and I thought we'd wait and ask Mama a few questions before we continued. Anyway, here are the pictures from today's adventure.
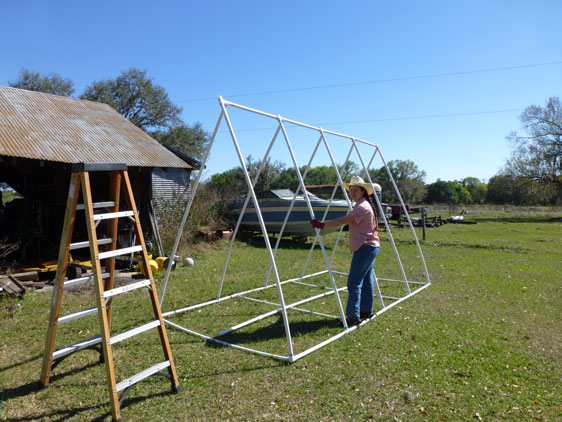
What we started with...
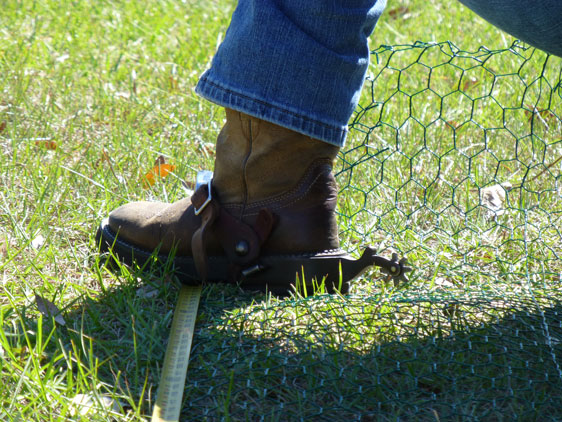
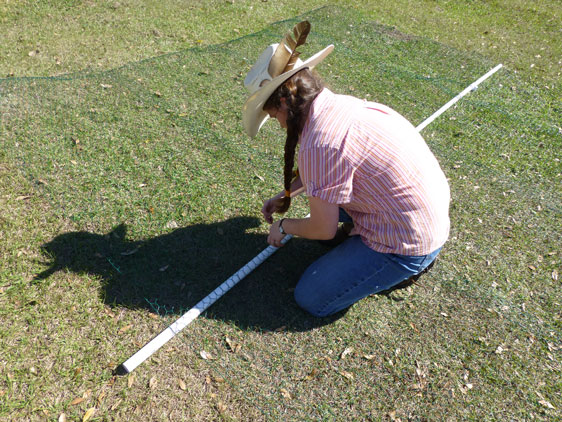
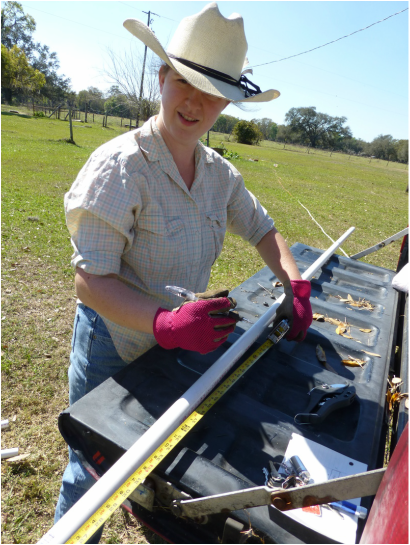
My tape measure doesn't have a lock swtich on it, so I have to improvise. :)
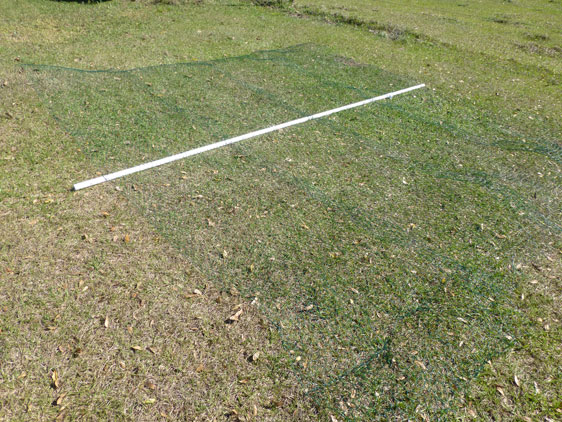
We cut four strips of wire that were roughly 12.5 or 13 feet long...
Then we laid them out like this over the 'ridge' pipe...
And wired them down...
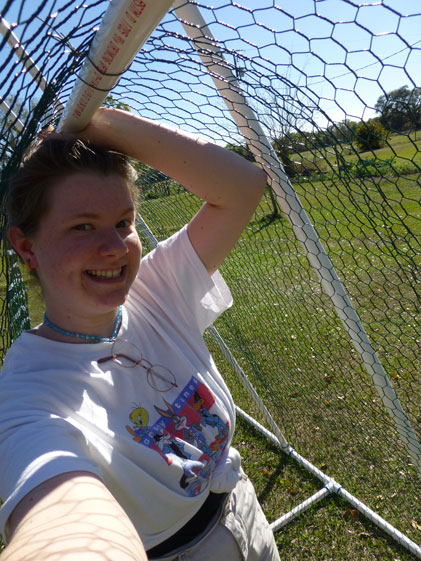
This was probably the trickiest part. Katie gamely undertook to hold the 12' 2" PVC ridge poll up while I wired it to the top of the triangle. She managed to get this really good shot of herself after I had the first end wired.

Wiring the opposite end.
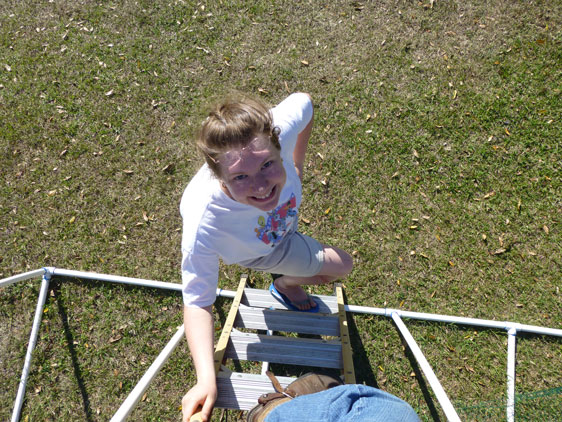
For me, this was the most uncomfortable part...I'm fine up a ladder so long as it has NO wiggle. Here it was a tad jiggly, so I had Katherine steady it for me. She's terrible cute with her glasses on the top of her head!
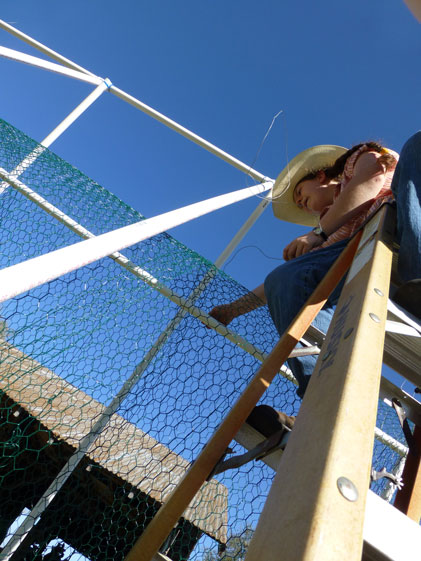
"Don't lean over TOO far, Racheal..." I was wiring to the middle sections of the triangle.
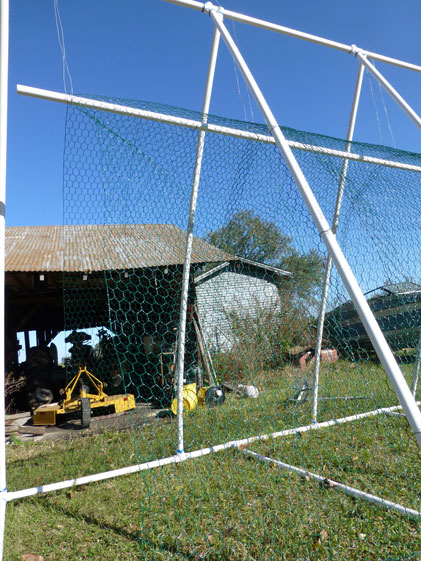
This isn't a very good shot of what we finished with, but it'll have to do. As you can see, the ends are open--we still have to rig that up somehow; more wire of course. I have some plastic stuff, but I'm not sure that won't get used in the horse trailer...
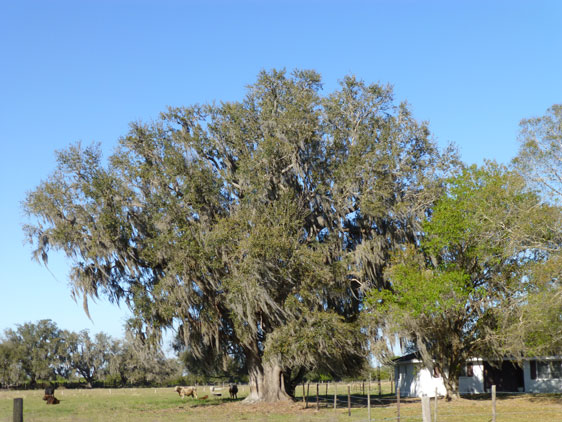
And in closing, how about a picture of a lovely old oak?
Racheal
Well, we pretty much got the rooster coop done today! I have pictures to prove it...
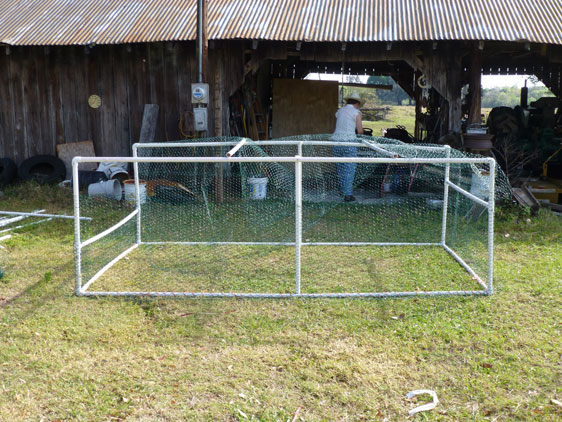
This is what we started with this morning...wire on three sides and the top wire hanging down inside.
We added a few more support bars and then started putting the wire back on. We had to patch it some, but it worked fine!
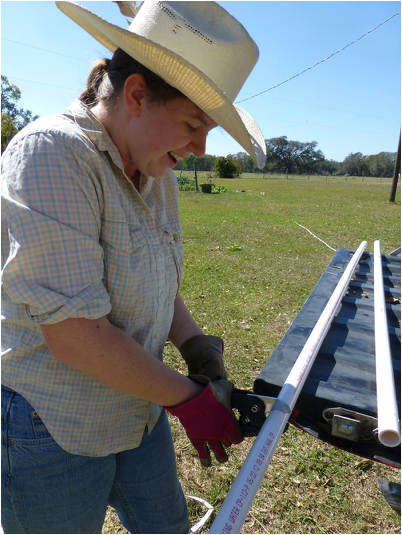
So....I was goofing off with the PVC pipe cutters. (Great tool, by the way!!)
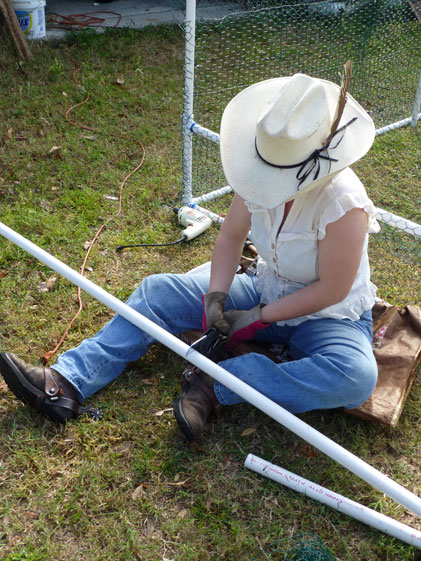
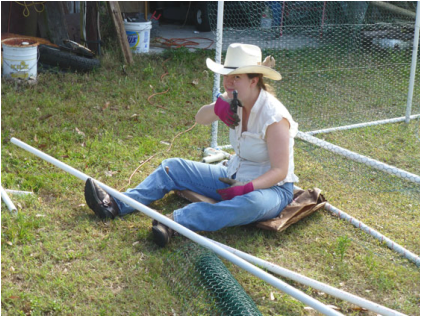
Cutting pipe...I was sitting on a feed sack because the grass was still wet from the dew!
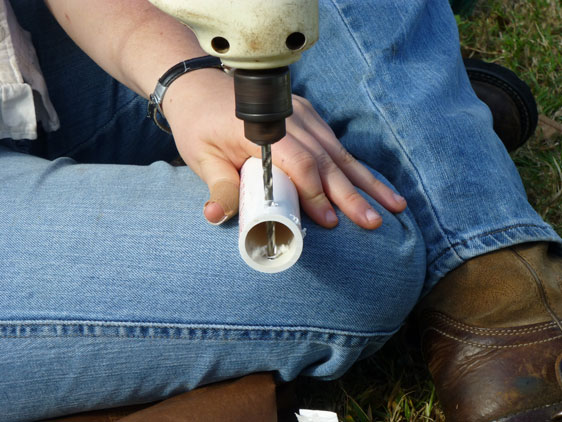
Drilling holes in the ends of support pipes.
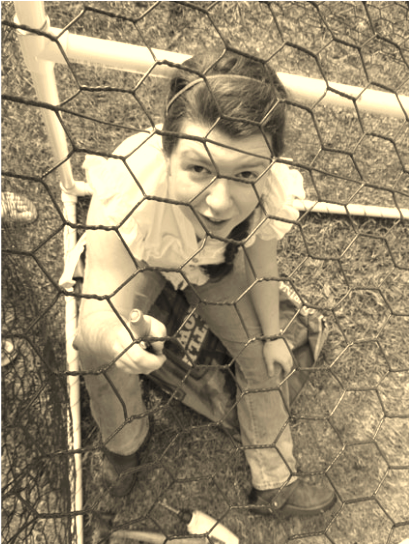
Inside the coop...I was talking to Katherine.
Ah, there she is!
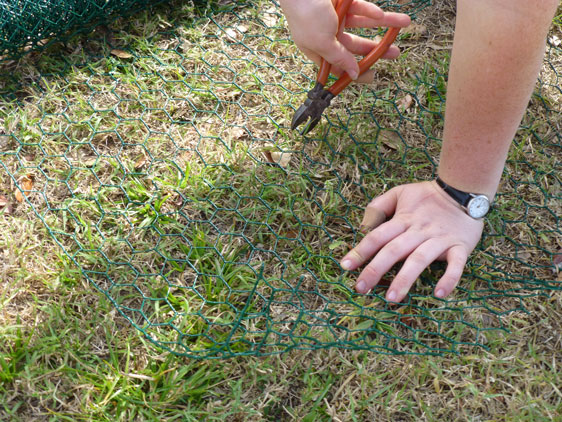
Cutting a piece of chicken wire to patch the side.
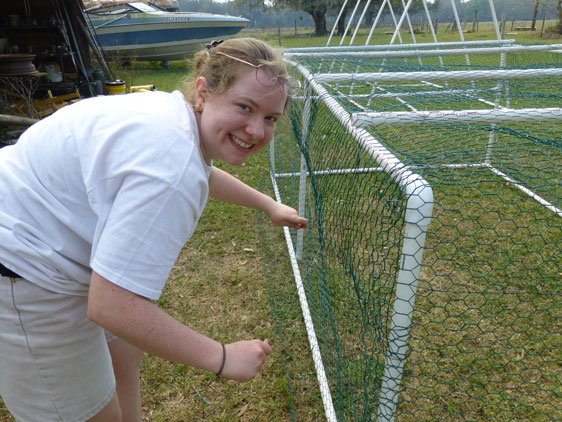
Katherine 'sewing' the sides where the different peices of chicken wire came together. (That is my uncle's boat in the back-ground...)

The finished project!! (Minus however I'm going to practically close the 'door'--the end facing you.)
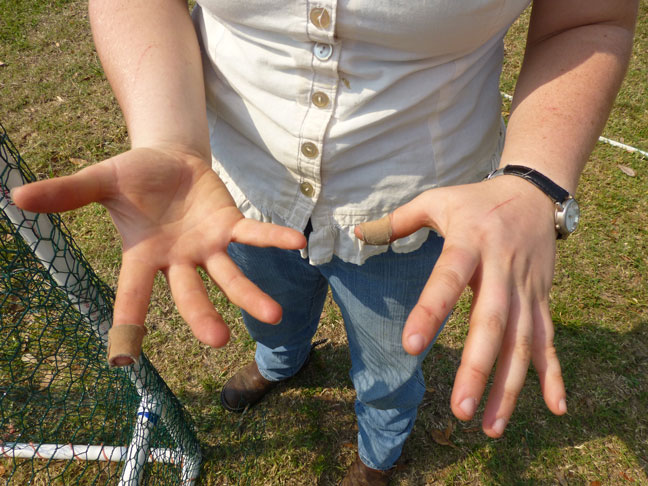
The state of our hands...mine are a tad more scratched up than Katherine's.

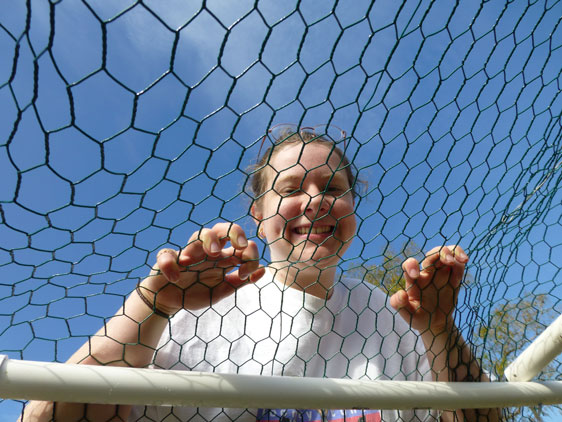
So this one really has nothing to do with chicken coops... :P
It is just the author...having fun!
Racheal
No pictures tonight...but more words. :)
After lunch, Katherine and I headed out to work on the rooster coop. I was hoping we would be all done with it tonight, but it didn't work out that way. We started by putting wire around the whole thing, length-ways, starting at one end and wraping it around back to that same end, leaving the end open. (That's my 'door' end!) We put about six inches down on the ground as an extra deterrent for critters and wired the thing on. Katherine spent a good deal of time 'sewing' the wire to the bottom pipe with the thin, very supple wire that came wrapped around the chicken-wire itself. Meanwhile, I was going around wiring it to the corners. Mama dropped by as she and Savannah were head to town and suggested support bars in the middle of my ten-foot sections. Okay...so out came the drill, the pipe cutters, the nails, and the hammer. I didn't need to cut another peice of pipe since I had two four foot sections laying around already. I drilled holes in either end of the four foot sections and roughly in the middle of my ten foot top and bottom pipes. Katherine poked the nails through and I hammered them down.
Then we went back to wiring...now, if you've ever worked with wire, you know the state one's hands get. Soon we both had blood on our hands. Somehow, Katherine actually managed to get scratched more than I did...but I have some doozy's alright. Katie went in to get a band-aid for her arm at one point and came back with another poked in her pocket. That was providential because a few minutes later I really got a walloping cut on my right index finger. With that bandaged up I went right back to work.
We were almost done with all the wiring when Mama got home and came and looked at our progress and made some more suggestions. If you know me at all, you know that when I'm hungry and getting tired, suggestions aren't always the best received. Well, I bit down on that growing, "aww....just leave me alone!" feeling, and actually looked at what she was pointing out and laughed instead of growled. Yep...it really did need cross bars to keep it from sagging like that. I cut some more pipe (oh, by now my hands were so tired from cutting electric wire--what we are using to tie the chicken wire on with--that I had to use the ground to help me cut the pipe)...mind you, sitting inside the three foot (plus a few inches) high area. Then I drilled some more holes, Katherine poked the nails through, and I pounded them.
We didn't finish...it was time for dinner and we were hungry (we never did stop and have that suggested apple break...go figure.) Anyway, it shouldn't take too much longer to finish--though I'm not sure we'll get it done tomorrow because we have to go someplace tomorrow afternoon.
I will post pictures when it is done! (Would have had pictures today only Katie left her camera across the creek!)
Rachea
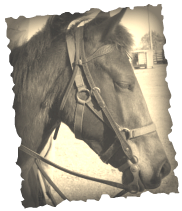
Greetings again...it's been a while, hasn't it? Anyway, I got around to the next step on the coops today. The "roo" (rooster) coop's frame was assembled and I later went to town and got the wire (it's green!)...but instead of putting the wire on, I rode Snip.
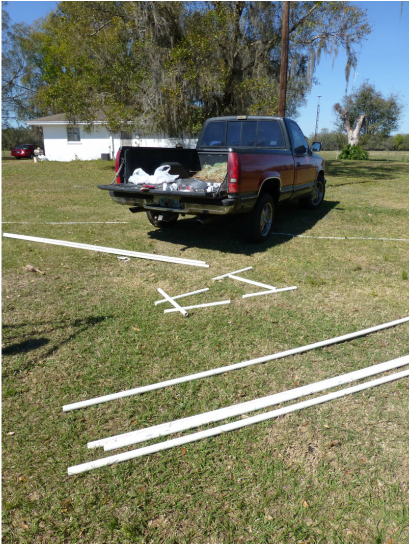
The Materials...
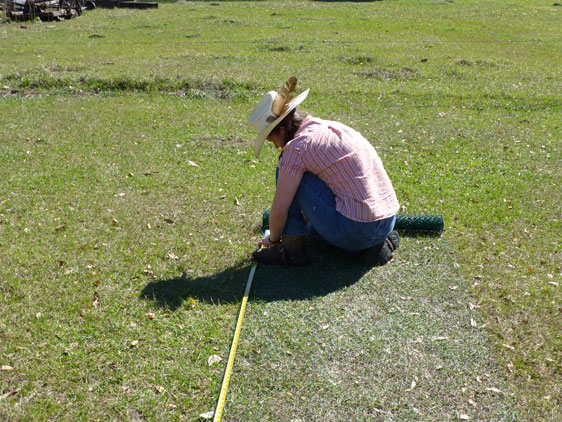
Measuring...
Cutting...

Rrrggg....

Rooster coop frame
I was going to write further, but since I'm Skyping with Daddy, I'll save that for later... :)
Racheal


 RSS Feed